Access a web app on your Raspberry Pi from anywhere with Cloudflare Tunnels #
Do you have a web app hosted on your Raspberry Pi that you want to share with the world? Using Cloudflare Tunnels, you can securely expose your app to the internet without messing with port forwarding or exposing your private IP. This guide will walk you through setting up Cloudflare Tunnels step-by-step.
Why Cloudflare Tunnels? #
Cloudflare Tunnels offer:
- 🔒 Security: No open ports on your home network.
- 🌎 Accessibility: Easily share your web app with a custom domain.
- 🚀 Simplicity: No complex router configuration needed.
Prerequisites #
Before starting, make sure you have:
- ✅ A Raspberry Pi with an active internet connection.
- ✅ A web app running on your Raspberry Pi (e.g., hosted on
localhost:3000). - ✅ A free Cloudflare account.
- ✅ A registered domain in Cloudflare.
Step-by-Step Guide #
1. Install Cloudflare Tunnel #
Steps #
- Add the Cloudflare GPG key to your system:
curl -L https://pkg.cloudflare.com/cloudflare-main.gpg | sudo tee /usr/share/keyrings/cloudflare-archive-keyring.gpg >/dev/null
- Add the Cloudflare repository to your system’s package manager:
echo "deb [signed-by=/usr/share/keyrings/cloudflare-archive-keyring.gpg] https://pkg.cloudflare.com/cloudflared $(lsb_release -cs) main" | sudo tee /etc/apt/sources.list.d/cloudflared.list
- Update the package manager to include the new repository:
sudo apt update
- Install Cloudflare Tunnel:
sudo apt install cloudflared
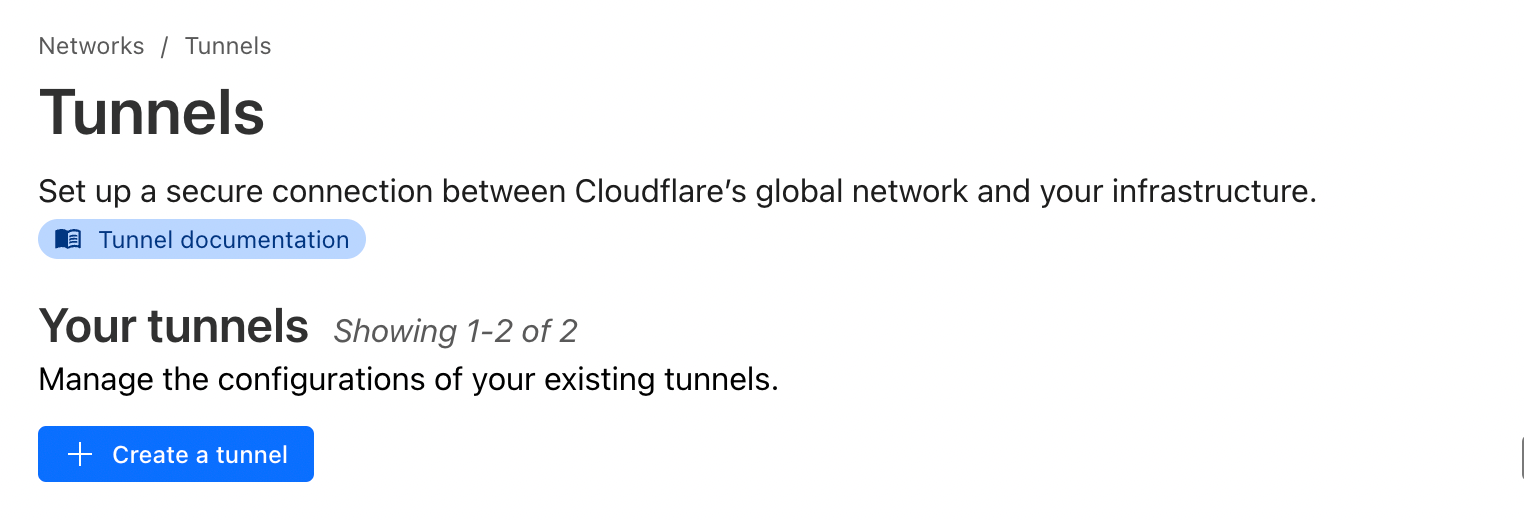
- Add a new tunnel in the Cloudflare Dashboard:
- Navigate to Zero Trust → Networks → Tunnels.

- Select
+ Create a tunnel
- Select
cloudflared tunnel
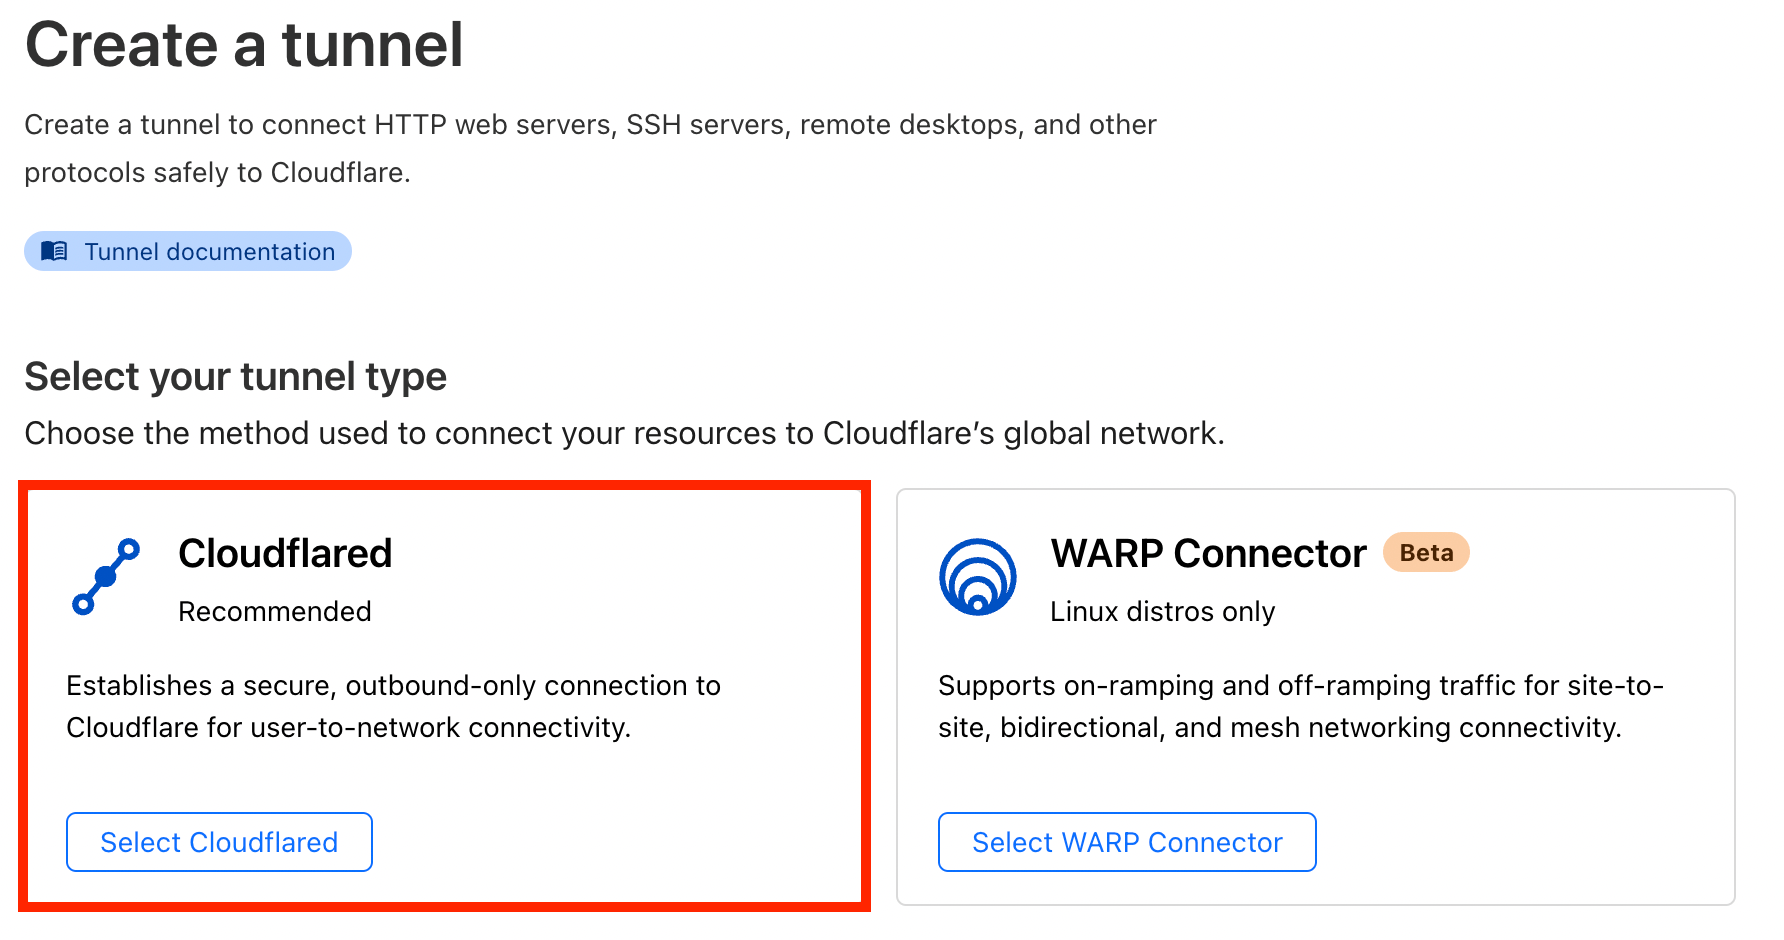
- Name tunnel

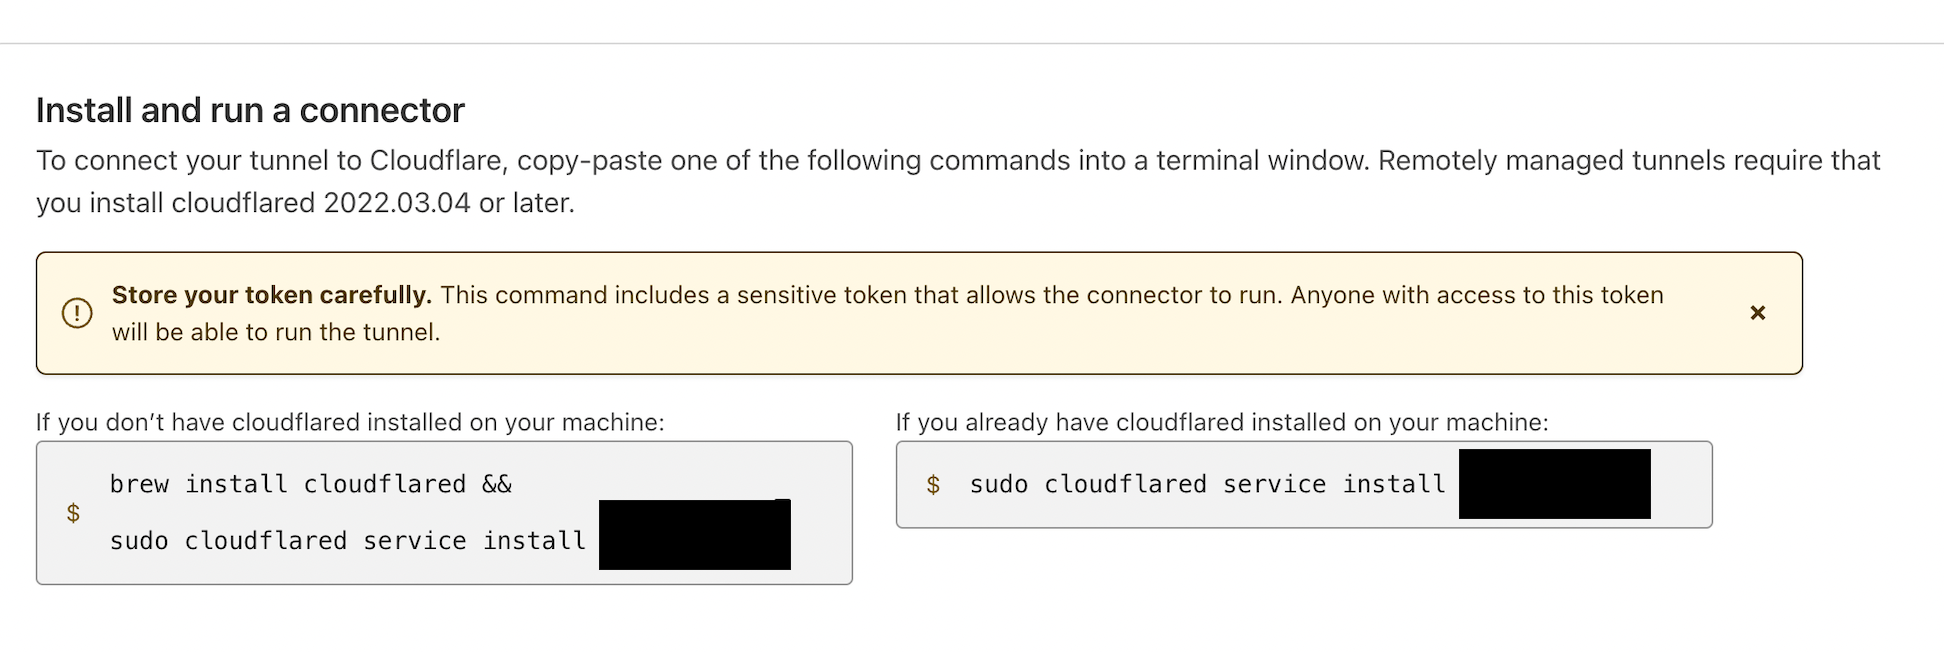
- copy and paste the command cloudflare provides under
If you already have cloudflared installed on your machine:(step 6)
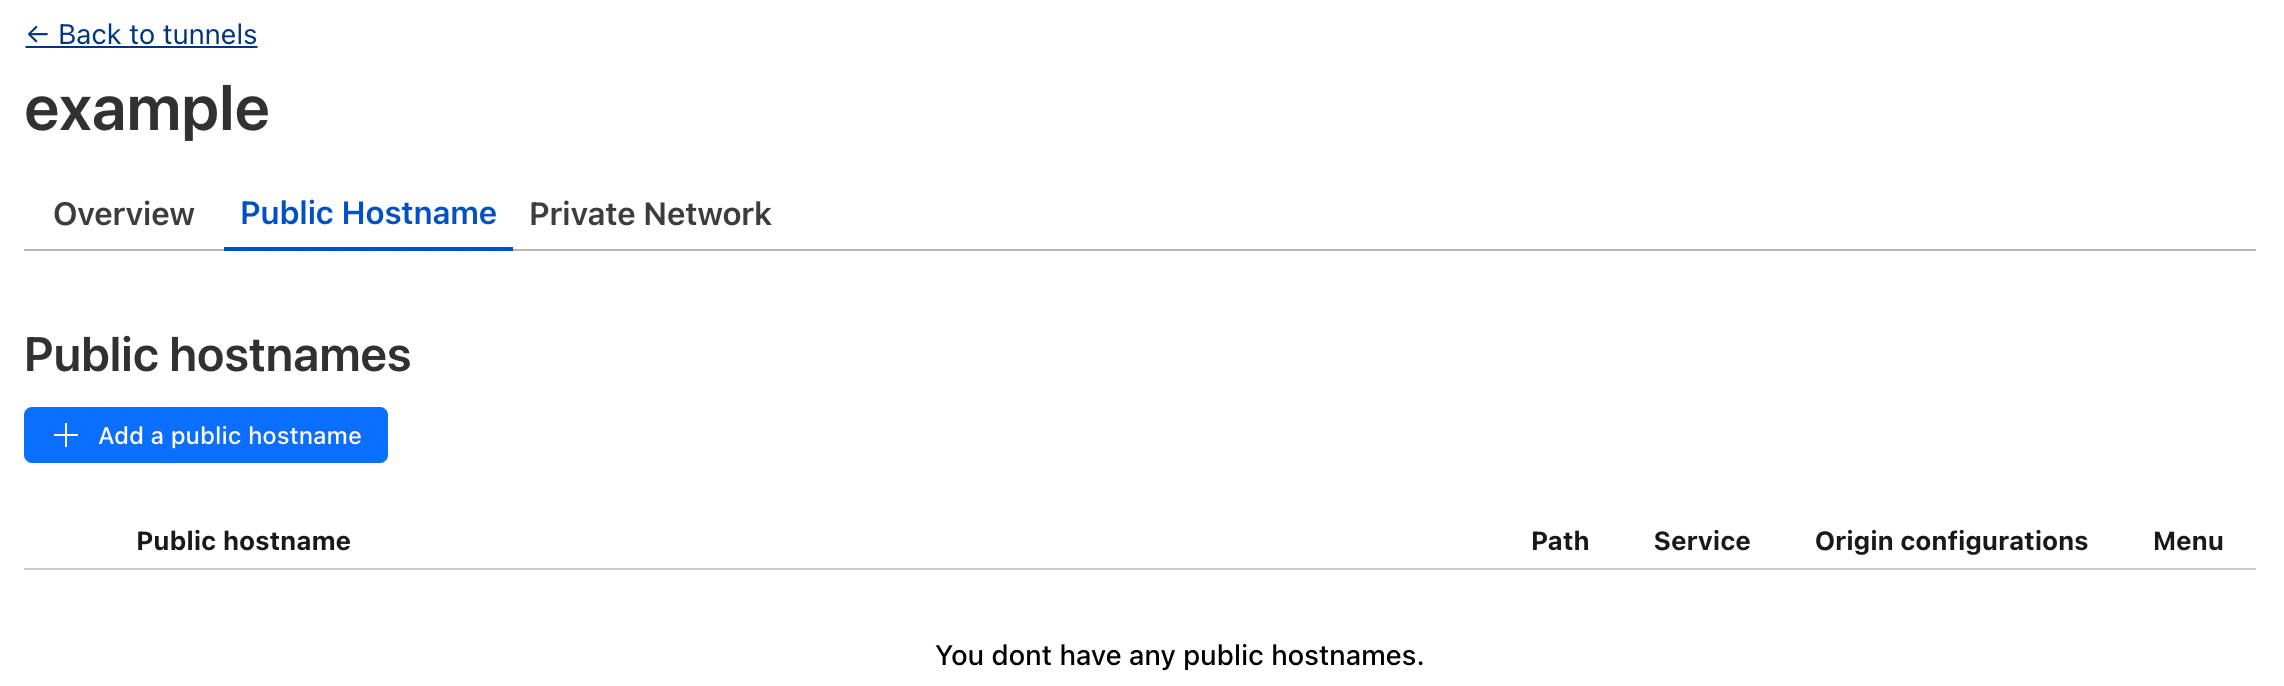
- serve your web app running on localhost (this requires a domain!)
Method One #
Attach from web app from raspberry pi #
cloudflared tunnel --url http://localhost:8080
Method Two #
Attach web app in cloudflare dashboard